The Battle Of Stirling Bridge - How Scotland Defeated England In 1297
The Battle of Stirling Bridge reveals how Scottish forces defeated a larger English army in 1297 through smart planning and battlefield control.
Author:Callum FraserDec 15, 202518.9K Shares542.7K Views
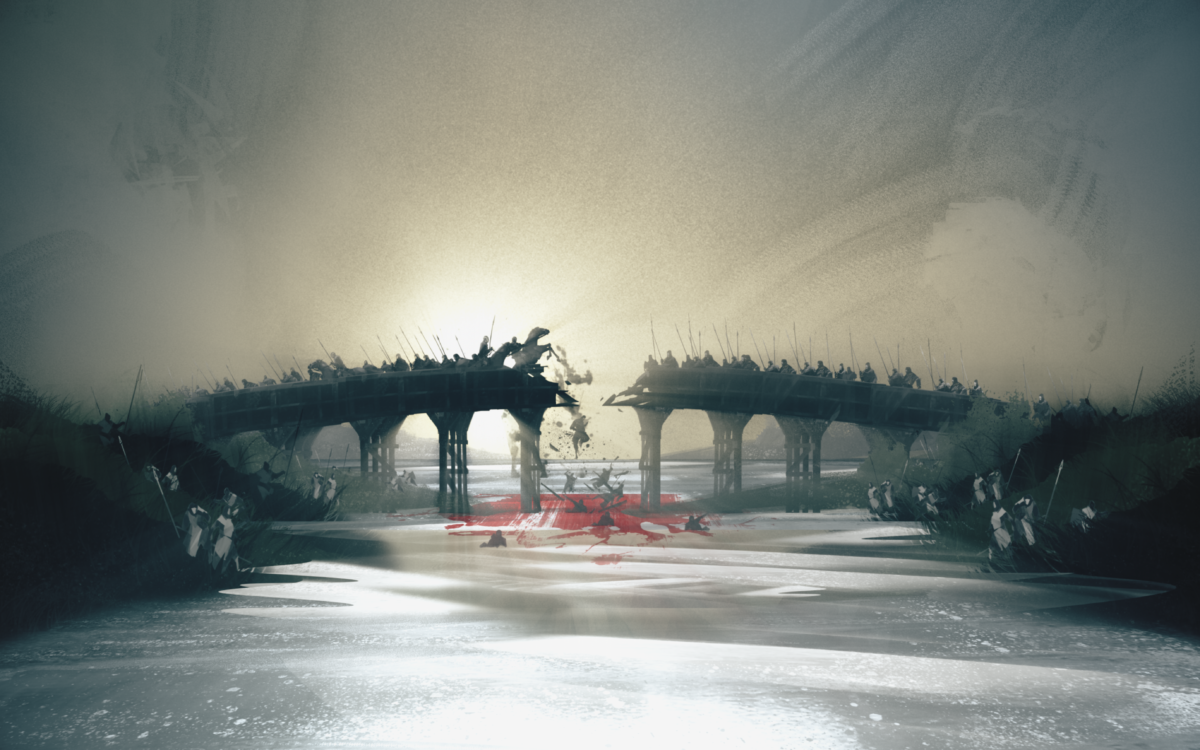
The Battle Of Stirling Bridge (1297) - A Defining Moment In Scottish History
On 11 September 1297, a narrow wooden bridge over the River Forth became the setting for one of the most surprising victories in medieval history. On one side stood a large English army, filled with armored knights and experienced soldiers. On the other stood a smaller Scottish force, made up mostly of foot soldiers armed with spears.
Against all expectations, the Scots won. The Battle of Stirling Bridgewas not decided by strength or numbers, but by planning, patience, and smart use of the land. This victory reshaped Scotland’s fight for independence and proved that even the strongest army could be defeated if it made the wrong choices.
Key Takeaways From The Battle Of Stirling Bridge
- The narrow bridge turned England’s military strength into a weakness
- Scottish commanders waited for the perfect moment to attack
- Andrew Moray played an equal and often overlooked role alongside William Wallace
- The battle changed both Scottish historyand medieval warfare
Scotland Under English Control Before The Battle
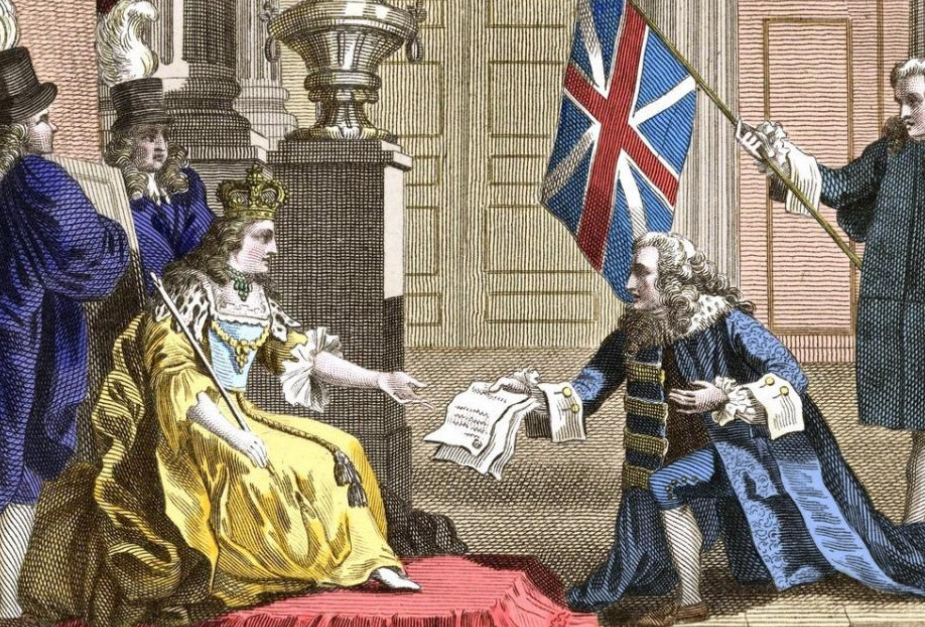
Scotland’s troubles began years before the battle. In 1286, King Alexander III often described as the last king of Scotland,to rule a stable and independent realm before English domination died after falling from his horse. His only heir was his granddaughter, Margaret of Norway, who died before reaching Scotland.
With no clear ruler, Scottish nobles asked Edward I of England to help choose a new king. Edward selected John Balliol, believing he could control him. Balliol was treated as a subordinate ruler, forced to provide money and soldiers for England’s wars.
When Balliol resisted, Edward responded with an invasion.
Edward I’s Harsh Rule Over Scotland
In 1296, English forces attacked Scotland. The town of Berwick was destroyed, and thousands of civilians were killed. The Scottish army was defeated at Dunbar, and Balliol was forced to surrender.
Edward removed Scotland’s symbols of independence and demanded loyalty from its nobles. English officials took control of government and finances. Taxes rose, trade declined, and resentment spread. One of the most hated officials was Hugh de Cressingham, the English treasurer in Scotland, known for his harsh rule.
Scotland became an occupied country.
The Rise Of Resistance In 1297
By 1297, resistance had begun. In the south, William Wallace led attacks against English officials. In the north, Andrew Moray escaped from English captivity and raised an army.
At first, they fought separately. Wallace struck in the southwest, while Moray drove English forces out of the north. By late summer, almost all of Scotland north of the River Forth was free from English control.
The English could not ignore this threat. A large army marched north toward Stirling.
Andrew Moray - The Forgotten Co-Leader
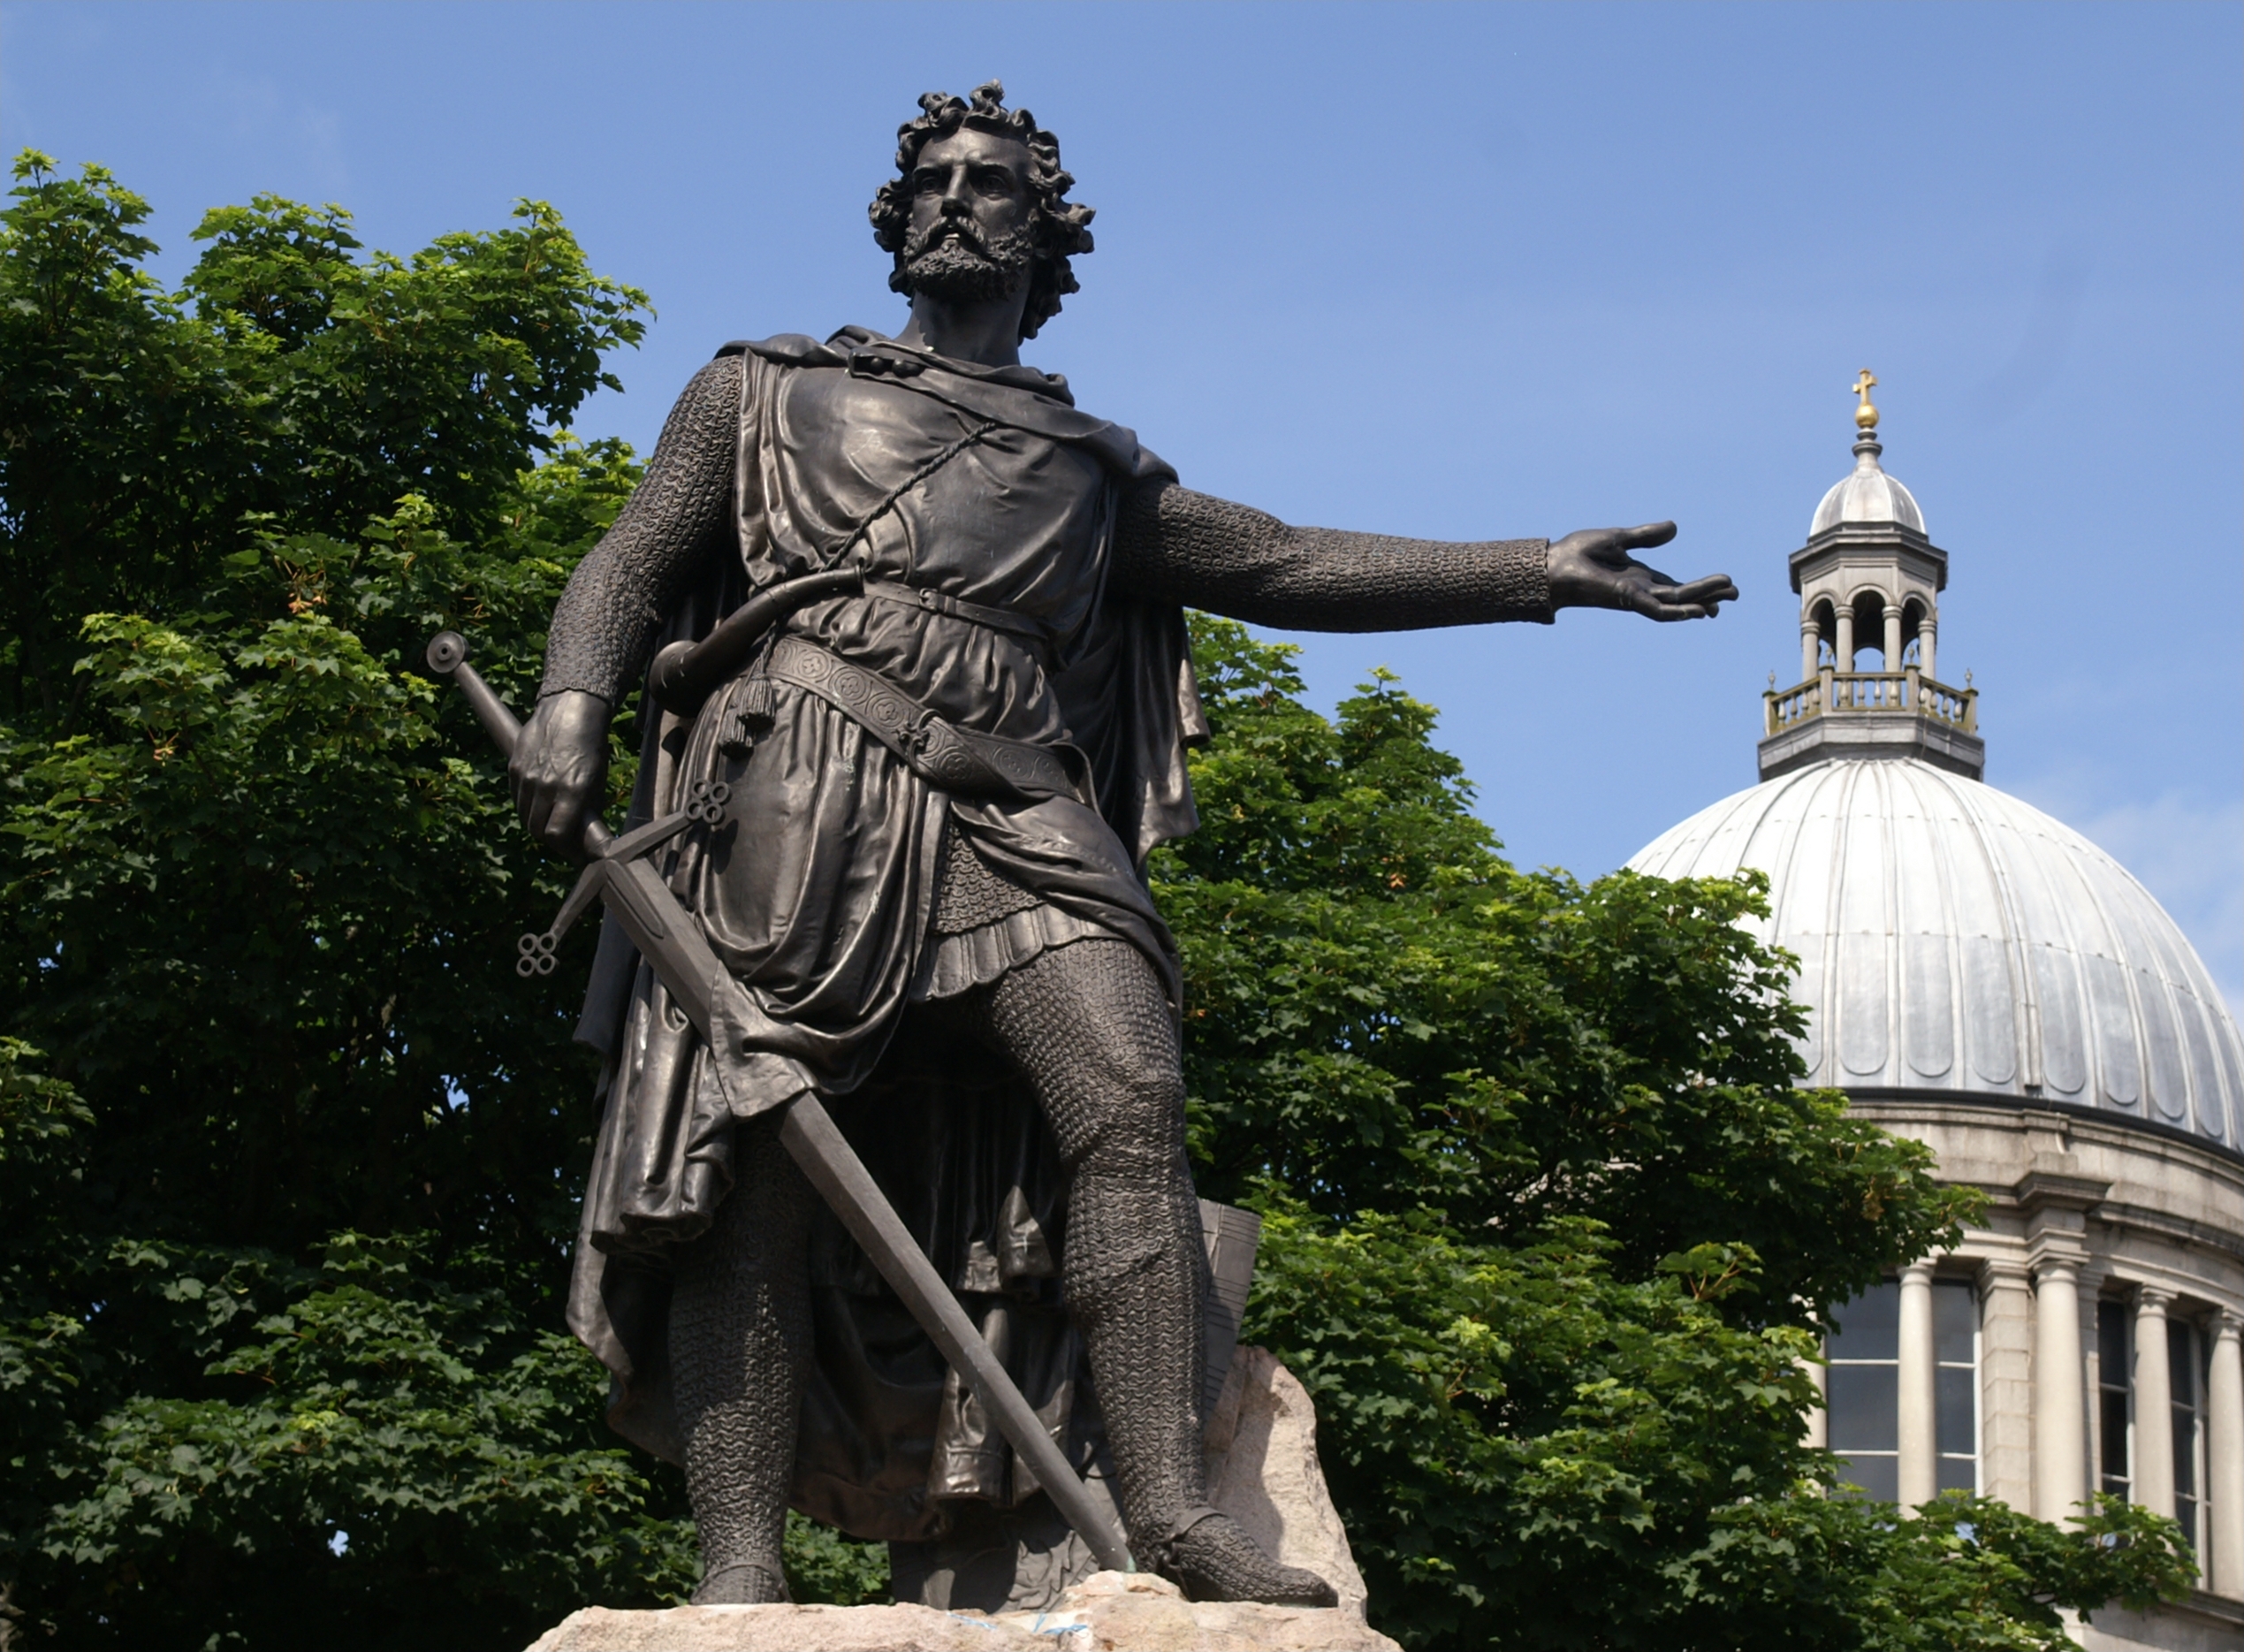
William Wallace is widely remembered, but Andrew Moray is often overlooked. This is a serious mistake. Moray came from a noble family and had formal military experience. His leadership gave the rebellion structure and wider support.
After escaping from Chester Castle, Moray returned to northern Scotland and organized attacks on English strongholds. One by one, they fell. By the time he joined Wallace, Moray had already freed an entire region.
Contemporary records list Moray’s name before Wallace’s, showing he was not a subordinate but an equal commander.
The Armies At Stirling Bridge
- Scottish army:around 5,000-6,000 soldiers, mostly infantry
- English army:around 9,000-10,000 soldiers, including cavalry and infantry
The English had more men, better armor, and experienced knights. The Scots relied on discipline, terrain, and timing.
Why Stirling Was The Perfect Place To Fight
Stirling was the key to Scotland. It controlled the main crossing over the River Forth, linking northern and southern Scotland. Among medieval Scottish bridges, Stirling Bridge was one of the most strategically important, as it sat on the only reliable route through the region.
The bridge itself was narrow and made of wood, allowing only a few soldiers to cross at a time. The land north of the bridge was flat, wet, and surrounded by the river, leaving little room to maneuver.
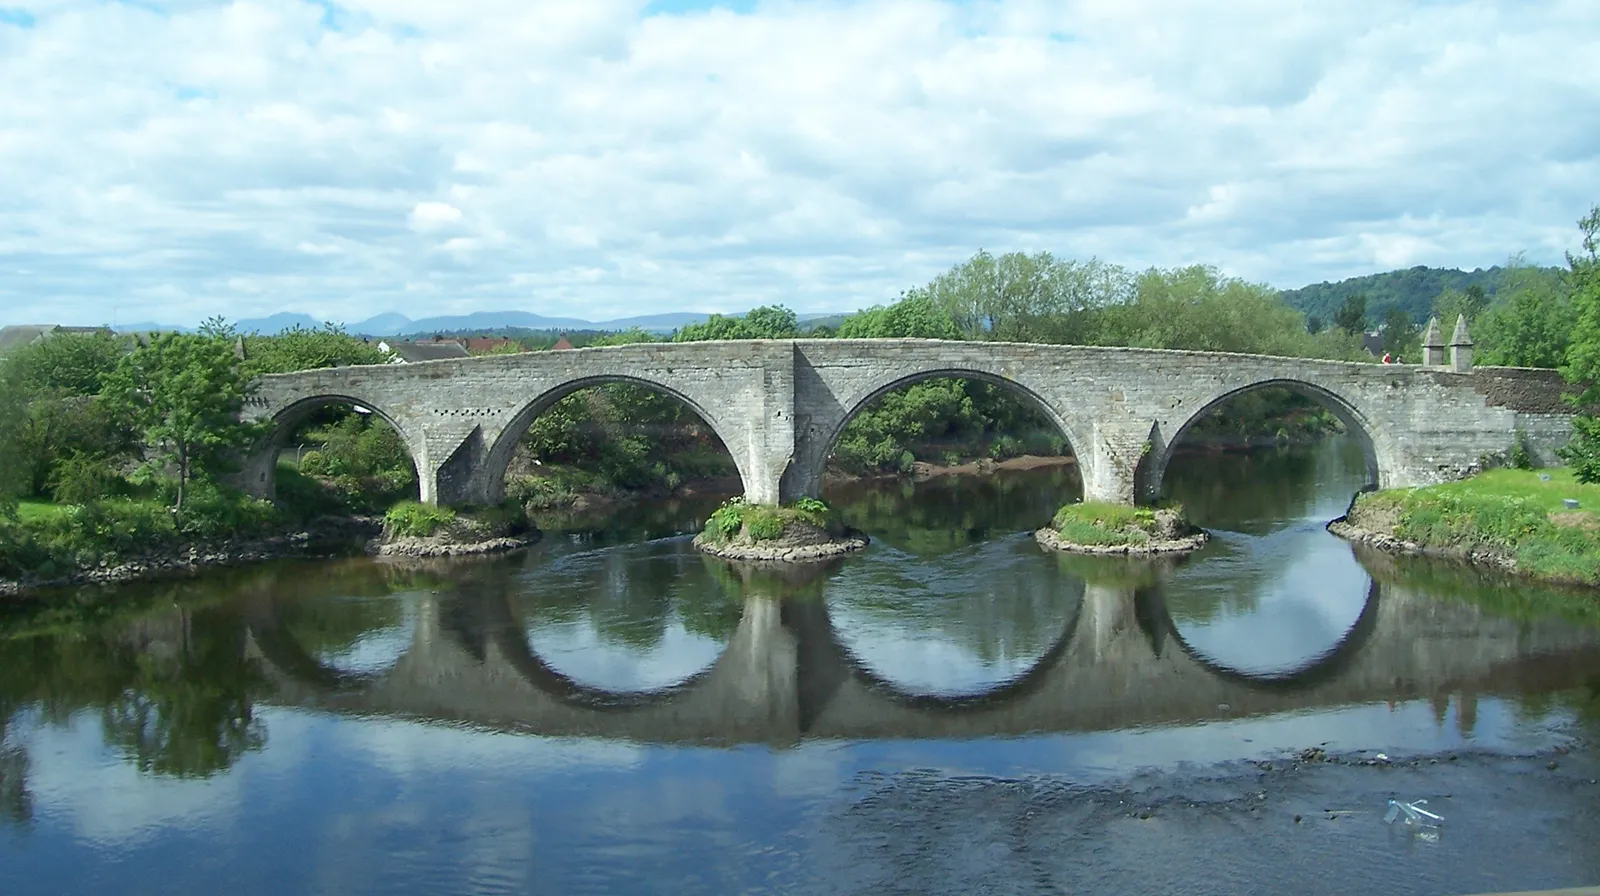
The original bridge stood slightly upstream from today’s stone bridge. Archaeological evidence confirms its position and narrow design. Wallace and Moray placed their army on higher ground near Abbey Craig and waited.
English Mistakes Before The Battle
The English army was led by John de Warenne, Earl of Surrey. Despite his experience, his command was weak. Several advisors warned that crossing the bridge was dangerous.
A safer crossing point, known as the Drip ford, existed nearby. Using it would have taken more time, but it would have avoided the trap. Hugh de Cressingham rejected this plan, arguing it would cost too much money.
The English chose speed over safety. This decision proved fatal.
How The Battle Of Stirling Bridge Unfolded
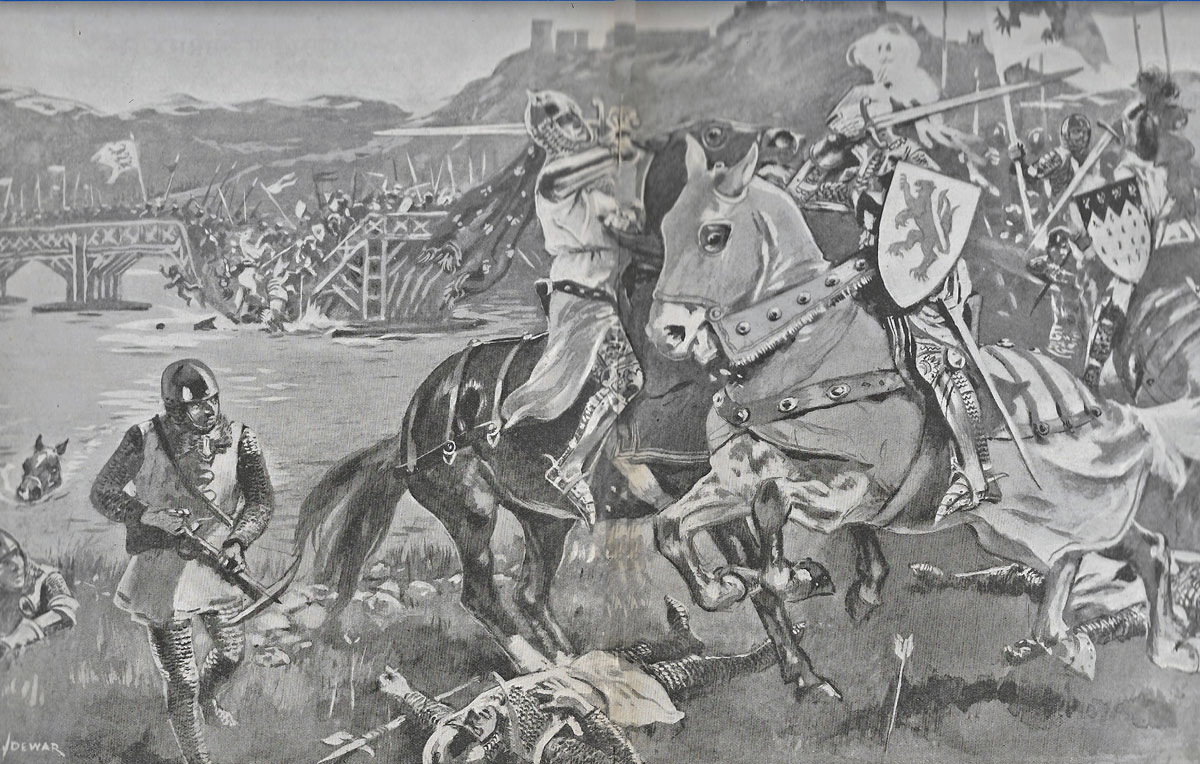
Early on the morning of 11 September 1297, English soldiers began crossing the bridge. The Scots did not attack at once. They watched and waited.
By late morning, thousands of English troops had crossed and were separated from the rest of their army. At that moment, Wallace and Moray ordered the attack.
Scottish soldiers charged down from higher ground and blocked access to the bridge. The English forces north of the river were trapped.
Scottish Tactics That Won The Battle
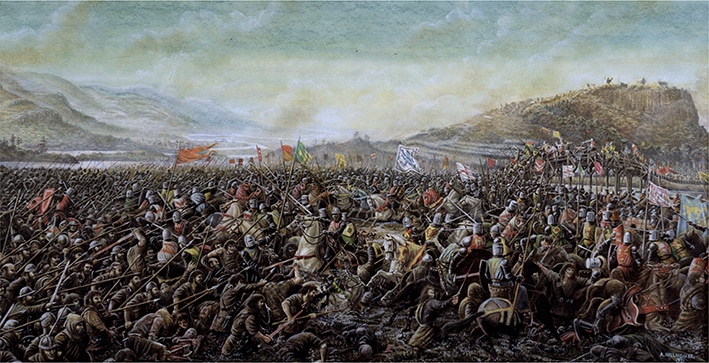
The Scots fought in dense formations known as schiltrons. These were tight groups of spearmen standing shoulder to shoulder, with long spears pointing outward. Horses would not charge into such formations, making English cavalry ineffective.
The ground was wet and muddy. Armored knights struggled to move or turn. The Scots pressed forward, forcing the English into confusion.
Many English soldiers were killed. Others drowned while trying to escape across the river in heavy armor. Hugh de Cressingham was killed early in the fighting. The battle ended quickly, with a complete English collapse.
The Cost Of Victory
The Scottish victory was decisive, but it came at a high price. Andrew Moray was badly wounded during the battle. He survived for a short time but later died. The exact date of his death is uncertain.
Moray’s loss weakened the Scottish cause. He had strong support among the nobility and valuable military skill. After his death, leadership fell to William Wallace alone.
Wallace As Guardian Of Scotland
After Stirling Bridge, Wallace was named Guardian of Scotland, ruling in the name of the captured King John Balliol. He worked to restore Scottish authority and prepare for further conflict.
In October 1297, Wallace and Moray sent a letter to European trading cities, announcing that Scotland was free and open for trade. Known as the Lübeck Letter, it declared that Scotland had been recovered from English control.
England Strikes Back
Edward I was furious when he learned of the defeat. In 1298, he personally led a massive army into Scotland. At the Battle of Falkirk, English archers broke the Scottish schiltrons, and Wallace was defeated.
Wallace later resigned as Guardian. He was captured in 1305 and executed in London. Despite his death, the struggle for Scottish independence continued.
Why The Battle Of Stirling Bridge Still Matters
The Battle of Stirling Bridge changed medieval warfare. It showed that disciplined infantry could defeat armored knights when terrain and timing were used wisely.
Later battles, including Bannockburn in 1314, followed similar principles. Strategy, patience, and understanding the land proved more important than numbers alone.
Today, Stirling Bridge is remembered not only for its military importance but also as one of Scotland’s most significant Scottish heritage sites, marking a place where careful planning and leadership altered the course of the nation’s history.
People Also Ask
When Was The Battle Of Stirling Bridge Fought?
The Battle of Stirling Bridge took place on September 11, 1297, during the First War of Scottish Independence. The fight lasted less than an hour, with the main slaughter occurring before noon. The date falls during the traditional campaigning season when medieval armies fought before winter made warfare difficult.
How Many Scots Fought In The Battle Of Stirling Bridge?
Size of the armies at the Battle of Stirling Bridge: The English army numbered around 9,000 men. The Scottish army numbered around 6,000 men.
Did William Wallace Win The Battle Of Stirling Bridge?
William Wallace led the resistance to the English occupation, winning the Battle of Stirling Bridge in 1297. A year later, Edward I's army defeated the Scots at Falkirk. Wallace was executed in 1305.
What Was The Bloodiest Battle In Scottish History?
The Battle of Flodden Field (Northumberland) was the bloodiest and most famous encounter between England and Scotland on English soil. It took place on September 9th, 1513, during the reign of Henry VIII of England and James IV of Scotland.
Final Thoughts
The Battle of Stirling Bridge was not a lucky accident. It was a carefully planned victory built on patience, leadership, and understanding the land. A smaller army defeated a stronger one by forcing it into a fatal mistake.
More than 700 years later, the battle still stands as a powerful reminder that smart strategy and discipline can overcome even the greatest force.
Jump to
The Battle Of Stirling Bridge (1297) - A Defining Moment In Scottish History
Key Takeaways From The Battle Of Stirling Bridge
Scotland Under English Control Before The Battle
Edward I’s Harsh Rule Over Scotland
The Rise Of Resistance In 1297
Andrew Moray - The Forgotten Co-Leader
The Armies At Stirling Bridge
Why Stirling Was The Perfect Place To Fight
English Mistakes Before The Battle
How The Battle Of Stirling Bridge Unfolded
Scottish Tactics That Won The Battle
The Cost Of Victory
Wallace As Guardian Of Scotland
England Strikes Back
Why The Battle Of Stirling Bridge Still Matters
People Also Ask
Final Thoughts

Callum Fraser
Author
Callum Fraser isn't just a writer about Scotland; he's a product of its rugged landscape and rich history. Born and raised in Perthshire, with the Highlands as his backyard, his love for the nation's stories was kindled by local storytellers and long walks through ancient glens.
This passion led him to pursue a degree in Scottish History from the University of Edinburgh. For over 15 years, Callum has dedicated himself to exploring and documenting his homeland, fusing his academic knowledge with essential, on-the-ground experience gained from charting road trips through the Cairngorms, hiking the misty Cuillins of Skye, and uncovering the secrets of traditional recipes in his family's kitchen.
As the Editor-in-Chief and Lead Author for Scotland's Enchanting Kingdom, Callum's mission is simple: to be your most trusted guide. He combines meticulous research with a storyteller's heart to help you discover the authentic magic of Scotland — from its best-kept travel secrets to its most cherished traditional recipes.
Latest Articles
Popular Articles