The Easiest Homemade Microwave Tablet With Condensed Milk
Scotland has many sweet treats and microwave tablet with condensed milk is a standout. Make microwave tablet with condensed milk in just 10 minutes! Get my foolproof recipe, expert tips, and a simple guide to achieve that perfect Scottish tablet texture every time.
Author:Callum FraserOct 05, 2025132 Shares65.9K Views
How I Mastered Microwave Scottish Tablet With Condensed Milk
Scottish tablet is a legendary confectionery, beloved for its rich, crystalline texture and intense sugary flavor. But if you’re like me, you've probably heard the horror stories about making it the traditional way-endless stirring over a hot stove, the need for a candy thermometer, and the ever-present risk of a sugary, grainy mess. For years, the idea of making it myself seemed too daunting.
Then I discovered a brilliant shortcut. I've spent time experimenting in my own kitchen, and I can tell you that you don't need a degree in confectionery to create a delicious, melt-in-your-mouth treat.
I'm going to share with you my simple, no-fuss guide to making an authentic-tasting Scottish tablet using just your microwaveand a handful of ingredients. This isn't just a recipe; it's a game-changer that lets you reclaim the joy of this classic sweet.
What Is Tablet?
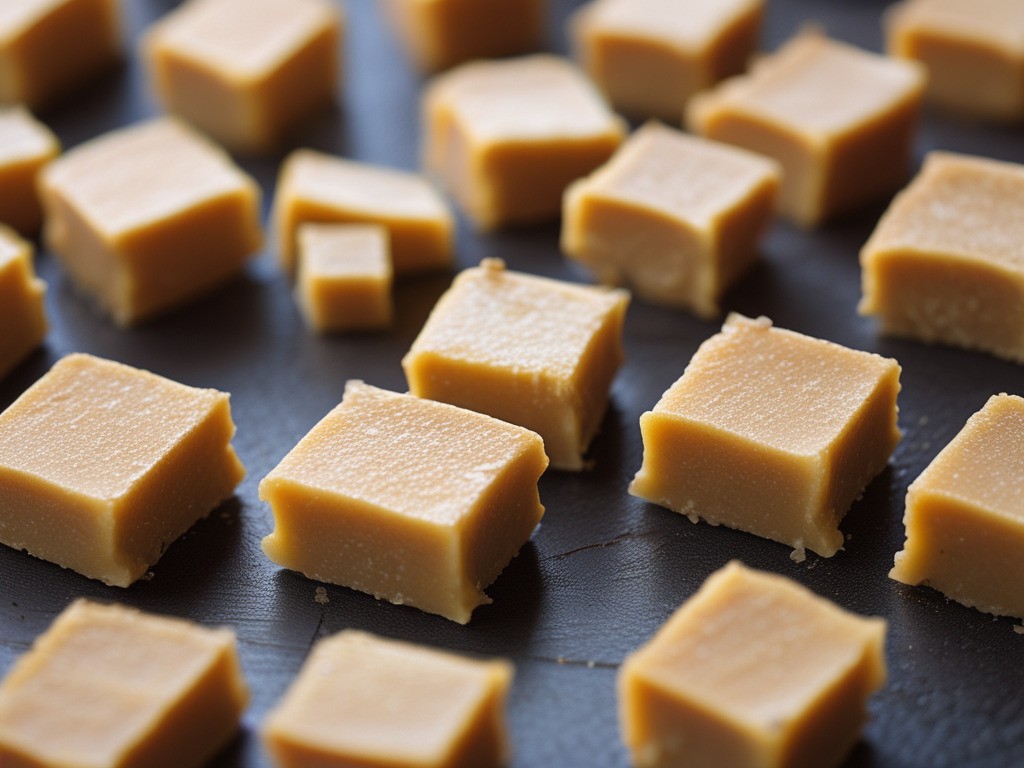
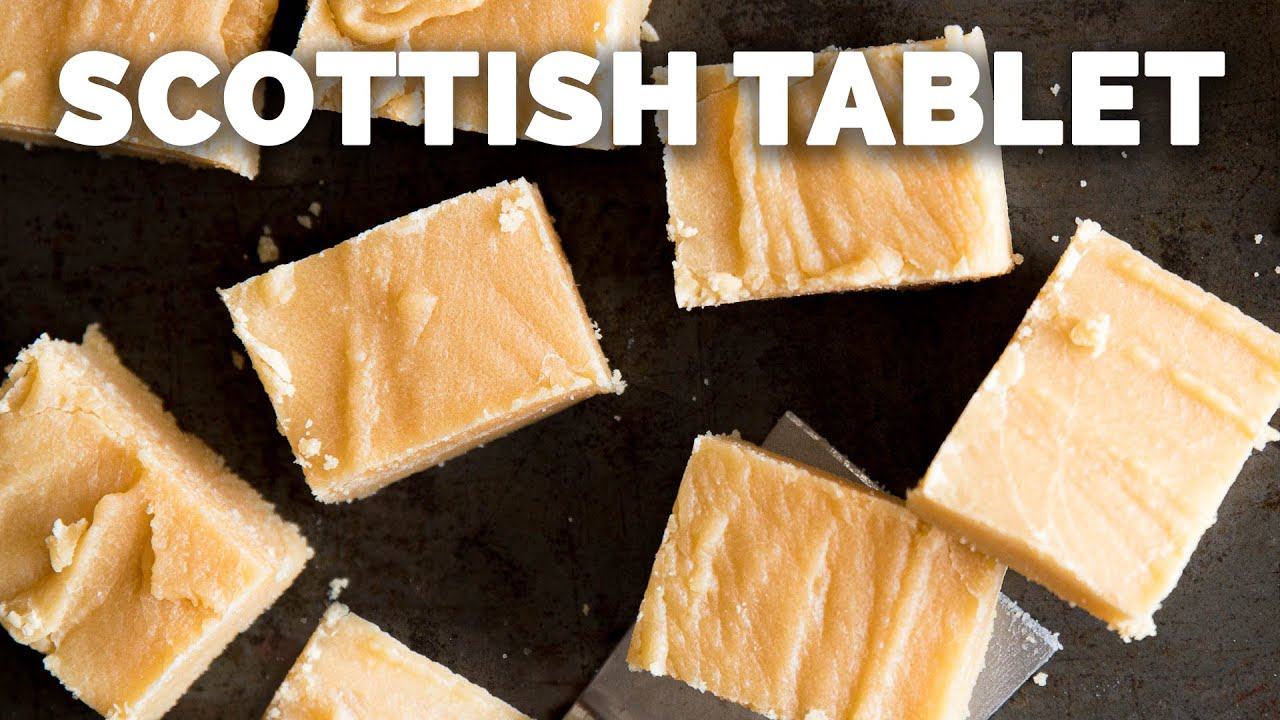
Tablet is a traditional Scottish confection: medium-hard, sugary, with a characteristic grainy texture, slightly brittle on the outside yet melting just enough. Made from sugar, butter, and condensed milk, it is boiled to soft-ball stage, then crystallized by beating.
Compared to fudge, tablet is less smooth and more crystalline. Fudge aims for a smooth, creamy texture; tablet leans on brisk crystallization to yield that crackle and textured melt.
My Two Favorite Ways To Make Microwave Tablet
After lots of testing, I've found there are two main paths to creating a great microwave tablet with condensed milk, and I want to share both of them with you. One is incredibly simple, and the other is a bit closer to the traditional texture.
Recipe 1: The Simple, All-Condensed-Milk Method
This is the recipe I recommend if you're a complete beginner. It's forgiving and delivers a fantastic, quick result.
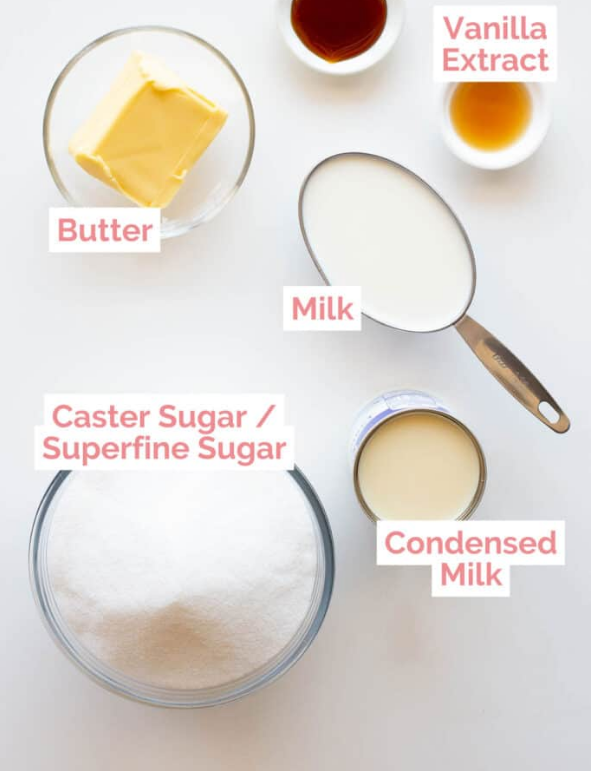
Ingredients:
- 1 (14-ounce / 400g) can of sweetened condensed milk
- 1 pound (450g) of granulated sugar
- 4 ounces (115g) of unsalted butter
- 1 teaspoon of vanilla extract
Why I Love It:This is my go-to when I want a quick, sweet treat. It's less prone to getting too hard, and the flavor is rich and buttery.
Recipe 2: The Classic, Higher-Sugar Method
I turn to this recipe when I'm aiming for a texture that's closer to what I remember from a proper Scottish sweet shop. The extra sugar and milk give it a more crumbly feel.
Ingredients:
- 1 (14-ounce / 400g) can of sweetened condensed milk
- 200ml whole milk
- 2 pounds (900g) of granulated sugar
- 1.75 ounces (50g) of butter
- 1 teaspoon of vanilla extract
Why I Use It:This version is perfect when you really want that distinctive, grainy Scottish tablet texture. It's worth the extra effort for me.
Continue Reading: Traditional Scottish Tablet Recipes
Foolproof Method For Either Recipe
I’ve made enough batches to know that these steps are foolproof. Just follow them exactly, and you'll be amazed at your results.
1. Get Your Pan Ready
Always start by lining an 8x8-inch baking pan with parchment paper. Leave a generous overhang on the sides; you’ll thank me later when you’re lifting the finished tablet out.
2. Mix Your Ingredients
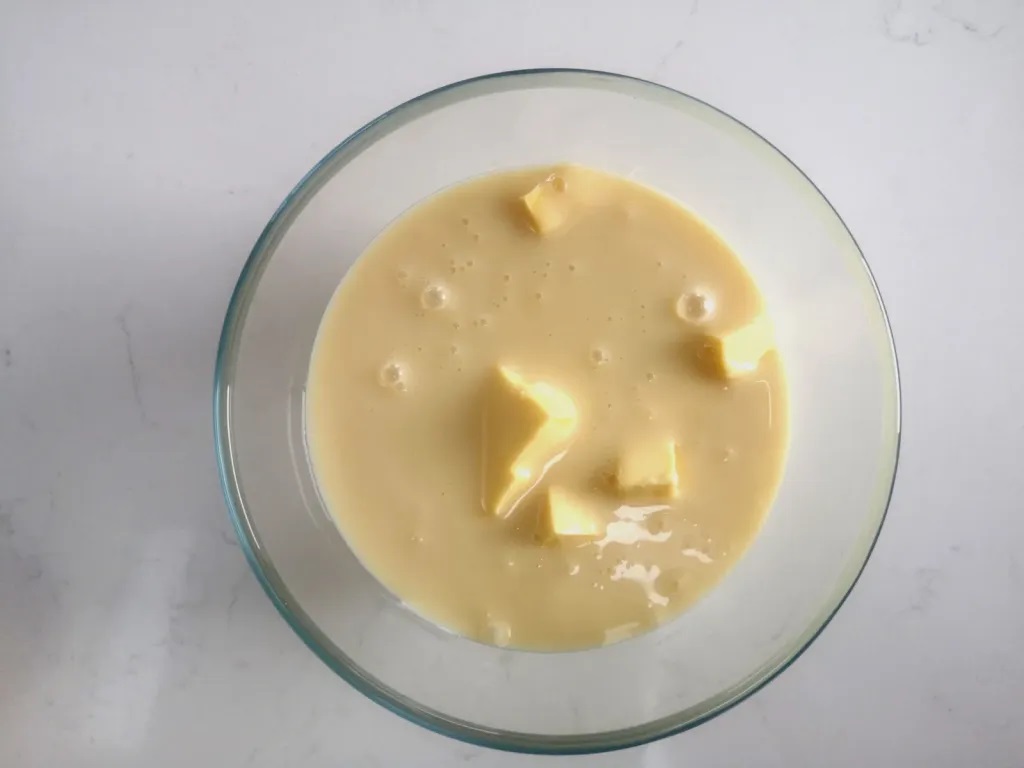
In a very large microwave-safe bowl(I use a big mixing bowl, about 2.5 liters), I combine all my ingredients, except for the vanilla. Trust me, use a big bowl to avoid a sugary volcano.
As an alternative, you can also combine these ingredients in a large, heavy-bottomed pot and melt them over low heat on the stovetop for more control before transferring them to a microwave-safe bowl for the main cooking phase.
3. Melt And Stir
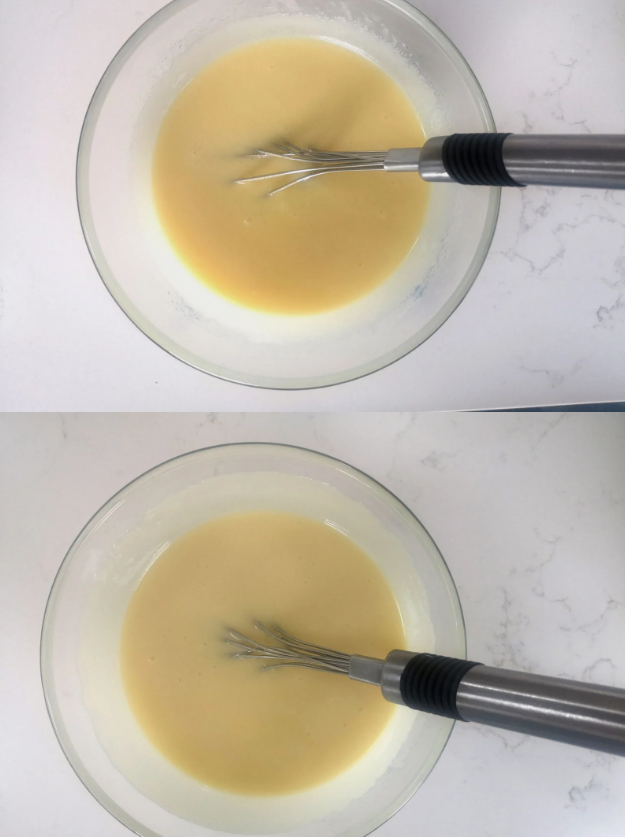
Put the bowl in the microwave and run it on high for 3-4 minutes. Stop every minute to give it a good stir. This gets the butter melted and the sugar started on its journey to dissolve.
4. The Cooking Phase
Now for the main event. Return the bowl to the microwave and cook it in 1-minute intervals, stirring vigorously after each one. It will start to bubble up and thicken, and watch it closely. For me, this step usually takes 8 to 15 minutes, depending on the recipe and my microwave's wattage.
5. Watch For The Perfect Stage
This is where my experience comes in. I know the mixture is ready when it starts to pull away from the sides of the bowl as I stir. The color will also deepen to a beautiful light caramel. That’s my cue.
Easy Homemade Scottish Tablet [4 Ingredients]
The Crucial 'Beating' Step: My Key To Scottish Tablet Texture
This is a step that I've found makes all the difference. While the microwave saves you from hours of stirring, a short beating phase is still necessary for that signature grainy texture we all love.
- My Technique:As soon as I take the bowl out of the microwave, I quickly add the vanilla extract. Then, I immediately start beating the mixture with a wooden spoon.
- What I Look For:I beat for about 2-3 minutes. I've learned to watch for the mixture to lose its glossy shine and become more opaque and crumbly. When I can scrape the spoon across the bottom of the bowl and see the surface for a second, I know I'm on the right track.
- A Fun Visual Cue: I love seeing the "crinkly pale lines" that start to form on the surface as I beat. It’s a great visual indicator that the sugar is crystallizing perfectly.
- My Biggest Mistake:I've made the mistake of beating for too long, and the tablet solidified in the bowl before I could pour it out! Now I stop as soon as it reaches that thick, pasty consistency.
Troubleshooting Guide & Expert Tips
I've had my share of kitchen mishaps, so I want to share my personal tips to help you avoid common traditional Scottish tablet problems.
- "My tablet won't set." This is the most common issue I hear about. In my experience, it means you didn’t cook it for quite long enough. Don't worry, just pop it back in the microwave for another 1-2 minutes, then beat it again. It'll work!
- "My tablet is too hard and grainy." I've done this before, and it's usually because I overcooked it. The sugar has recrystallized too much. You can try to remelt it with a splash of milk or cream and turn it into a rich sauce for ice cream-it's not a tablet, but it's still delicious.
- Always use a large bowl.This is a non-negotiable tip from my kitchen. It saves you from a massive, sticky cleanup.
- Know your microwave's wattage.My cooking times are a general guide. I've learned that if you have a lower-power microwave, you might need to add a couple of extra minutes to the total time.
My Favorite Flavor And Dietary Variations
Once I mastered the base recipe, I started having fun with different flavors. Here are a few I love.
- Chocolate:Just stir in 2 tablespoons of unsweetened cocoa powder. It gives the tablet a beautiful, deep chocolatey flavor.
- Nutty:My go-to is to fold in about ½ cup of chopped almonds or walnuts right before I pour it into the pan.
- Whisky-Infused:For a truly adult treat, I love adding 2 tablespoons of Scotch whisky. The flavor is a fantastic, smoky kick.
- Coffee:I’m a coffee lover, so I mix in 1-2 tablespoons of instant coffee granules. It balances the sweetness perfectly.
FAQs
How Long Do You Beat A Tablet For With Condensed Milk?
From my experience, I've found that beating for about 2-3 minutes after the mixture comes out of the microwave is the sweet spot. It's just enough time to encourage the right crystallization without the mixture getting too hard to pour.
Is It Okay To Microwave Condensed Milk?
I can tell you from personal experience that it's perfectly safe. The process is a simple one of heating the sugar and milk to thicken and caramelize it, which is the same principle as the stovetop method.
Why Is It Called A Scottish Tablet?
I've read that the name comes from how the finished confection is broken into small, 'tablet-like' pieces. It's a name with a lot of history behind it, and that makes it feel even more special to me.
How Should I Cut The Tablet For Neat Squares?
After pouring and smoothing, wait ~20–30 minutes (still pliable) then scoreyour lines (light incisions). Once fully set, break or cut along the lines.
Final Thoughts
I hope this guide helps you feel confident about making Scottish tablet in your own kitchen. It's truly an easy way to enjoy a classic treat that tastes like it came from a professional confectioner. It's a recipe that has brought me a lot of joy, and I love sharing it with friends and family.
Follow these simple tips, and you'll find that making tablet is not a daunting task, but a simple pleasure. Enjoy every delicious, buttery, sugary bite!
Also Check Out: Best Scottish Cooking Courses For Aspiring Chefs
Jump to
How I Mastered Microwave Scottish Tablet With Condensed Milk
What Is Tablet?
My Two Favorite Ways To Make Microwave Tablet
Foolproof Method For Either Recipe
The Crucial 'Beating' Step: My Key To Scottish Tablet Texture
Troubleshooting Guide & Expert Tips
My Favorite Flavor And Dietary Variations
FAQs
Final Thoughts

Callum Fraser
Author
Callum Fraser isn't just a writer about Scotland; he's a product of its rugged landscape and rich history. Born and raised in Perthshire, with the Highlands as his backyard, his love for the nation's stories was kindled by local storytellers and long walks through ancient glens.
This passion led him to pursue a degree in Scottish History from the University of Edinburgh. For over 15 years, Callum has dedicated himself to exploring and documenting his homeland, fusing his academic knowledge with essential, on-the-ground experience gained from charting road trips through the Cairngorms, hiking the misty Cuillins of Skye, and uncovering the secrets of traditional recipes in his family's kitchen.
As the Editor-in-Chief and Lead Author for Scotland's Enchanting Kingdom, Callum's mission is simple: to be your most trusted guide. He combines meticulous research with a storyteller's heart to help you discover the authentic magic of Scotland — from its best-kept travel secrets to its most cherished traditional recipes.
Latest Articles
Popular Articles